※ This page contains promotional (affiliate) links.
This article was translated from the original Japanese with the help of AI. We’ve aimed for natural, accurate English, but details such as prices, plans, and procedures can change. Please confirm the latest information on each provider’s official website before you decide.
When you’re planning a trip to Japan, one thing that tends to get pushed to the bottom of the list is figuring out how you’ll stay online once you arrive. At theme parks like Tokyo Disney Resort and Universal Studios Japan in particular, the official apps handle everything from checking wait times to grabbing timed-entry tickets and mobile ordering—so without a connection, your whole day can feel a lot more limited.
The short version: you have four main options—eSIM, pocket Wi-Fi rental, SIM card, and free Wi-Fi. If your phone supports eSIM, an eSIM is usually the easiest choice, since you can sign up before you leave and start using it the moment you land. That said, the best option really depends on how many people are traveling and what kind of device you have.
This guide is written to be easy to follow, even if it’s your first trip to Japan. Here’s what we’ll cover:
- Why staying online really matters for a Japan theme park trip
- How eSIM, pocket Wi-Fi, SIM cards, and free Wi-Fi compare—and who each one suits
- A quick “which one should I pick?” guide by travel style
- A pre-departure checklist to get sorted before you go
Let’s take them one at a time.
- Why staying online matters for a Japan theme park trip
- Comparing the four ways to get online in Japan
- So which should you pick? Choosing by travel style
- Recommended eSIM & booking services for trips to Japan
- Pre-departure checklist
- Frequently asked questions (FAQ)
- Summary | A little prep makes your Japan trip smoother
Why staying online matters for a Japan theme park trip
The parks run on their official apps
These days, many of Japan’s theme parks are built around their official smartphone apps. Without a connection, there are more and more moments where—even with a ticket in hand—you can’t make the most of your visit.
Disney, USJ, and LEGOLAND all run on their apps
- Tokyo Disney Resort: The official app lets you check wait times and maps, enter show lotteries, get Standby Passes and Disney Premier Access (a paid option), use mobile ordering, and more (Tokyo Disney Resort official app, as of May 2026). All of these rely on a connection.
- Universal Studios Japan: The “Area Timed Entry Tickets” and numbered tickets used to enter popular areas are mainly obtained through the official app (Universal Studios Japan official, timed-entry tickets, as of May 2026).
- LEGOLAND Japan: The official app lets you check wait times and buy e-tickets to enter the park (LEGOLAND Japan official, as of May 2026).
On top of that, things like QR-code ticket display, in-park maps, and translation of menus and announcements are all features that really only work well with a connection. At the parks, it’s safest to plan as if being online is a must.
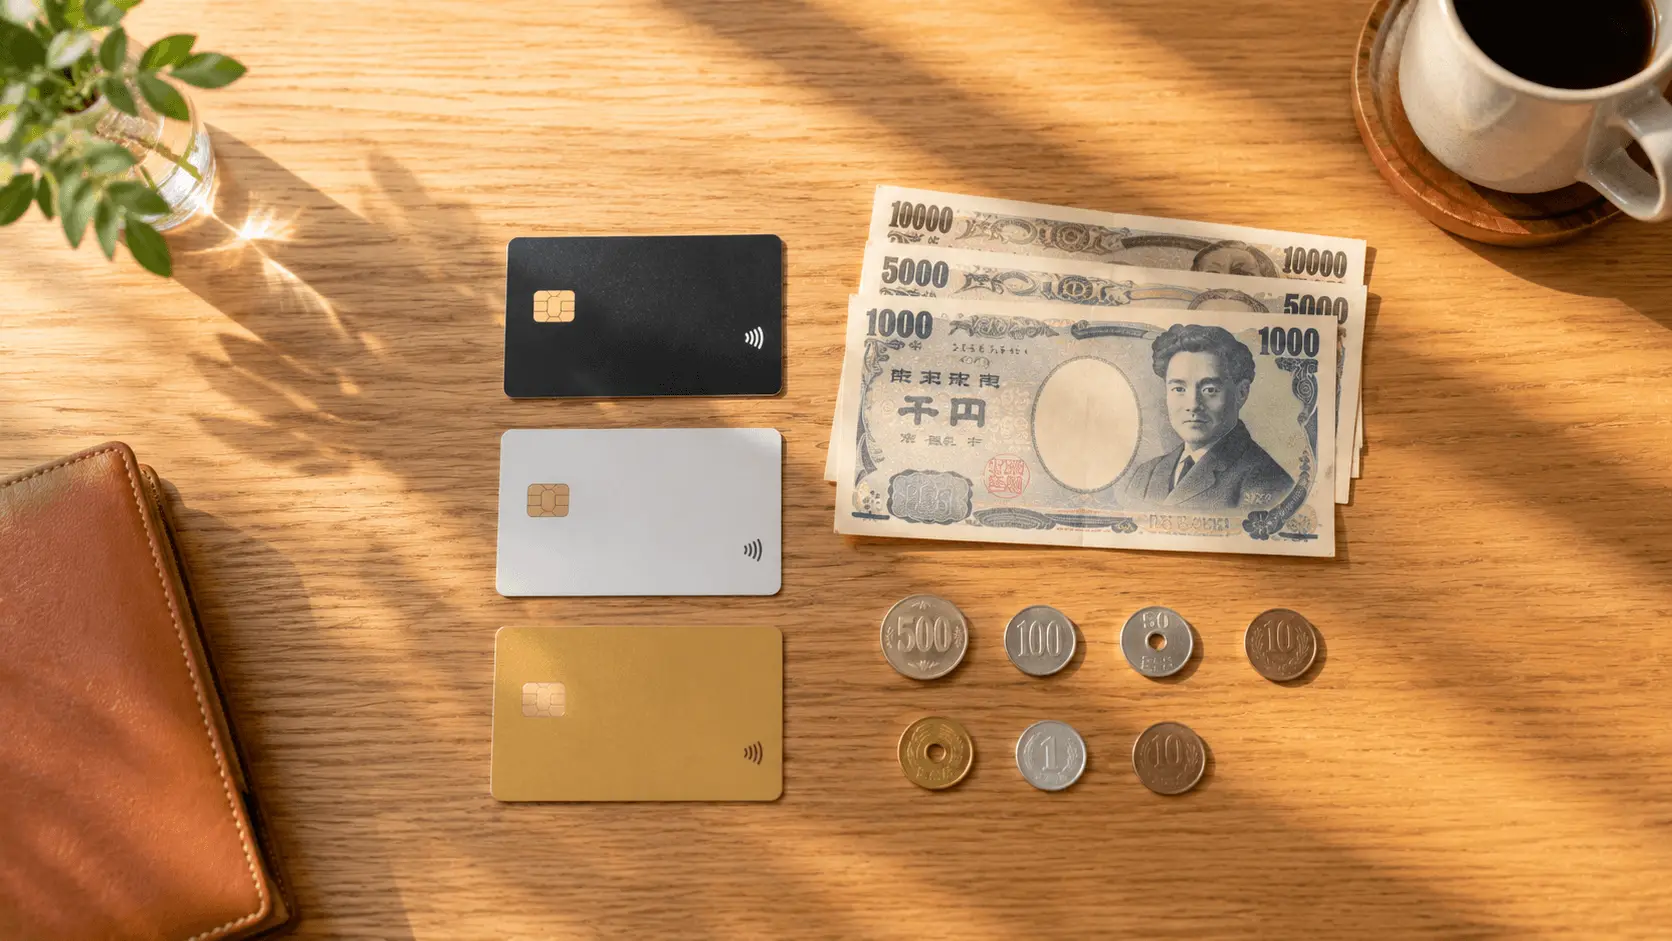
Comparing the four ways to get online in Japan
Here are the four main ways to stay connected during a trip to Japan, with the pros and cons of each.
| Option | Pros | Cons | Best for |
|---|---|---|---|
| eSIM | Set up entirely in an app and ready right after you land / nothing extra to carry / fast and stable | Needs an eSIM-compatible device / requires initial setup / most plans are data-only | Solo travelers with a compatible phone who want to pack light |
| Pocket Wi-Fi | One device connects several people/devices at once / works with any device | You carry the unit / watch the battery / pickup and return take some effort | Families, groups, or anyone with a non-eSIM phone |
| SIM card | Just slot it in / easy to pick up at the airport on arrival | Hassle of swapping and storing your original SIM / needs SIM unlock | People with a non-eSIM phone who still want a single-device setup |
| Free Wi-Fi | Free | Can be hard to connect / unstable speeds / security risks / unusable on the move | Backup use only |
Free Wi-Fi is handy, but Japan’s Ministry of Internal Affairs and Communications also warns about risks such as communication interception and “rogue access points” disguised as legitimate hotspots. The recommended precautions include checking the access point name before connecting and only entering personal information on encrypted (HTTPS) sites (Japan’s Ministry of Internal Affairs and Communications: Using Wi-Fi safely, as of May 2026). Rather than relying on free Wi-Fi alone, it’s reassuring to have one connection that’s just yours.
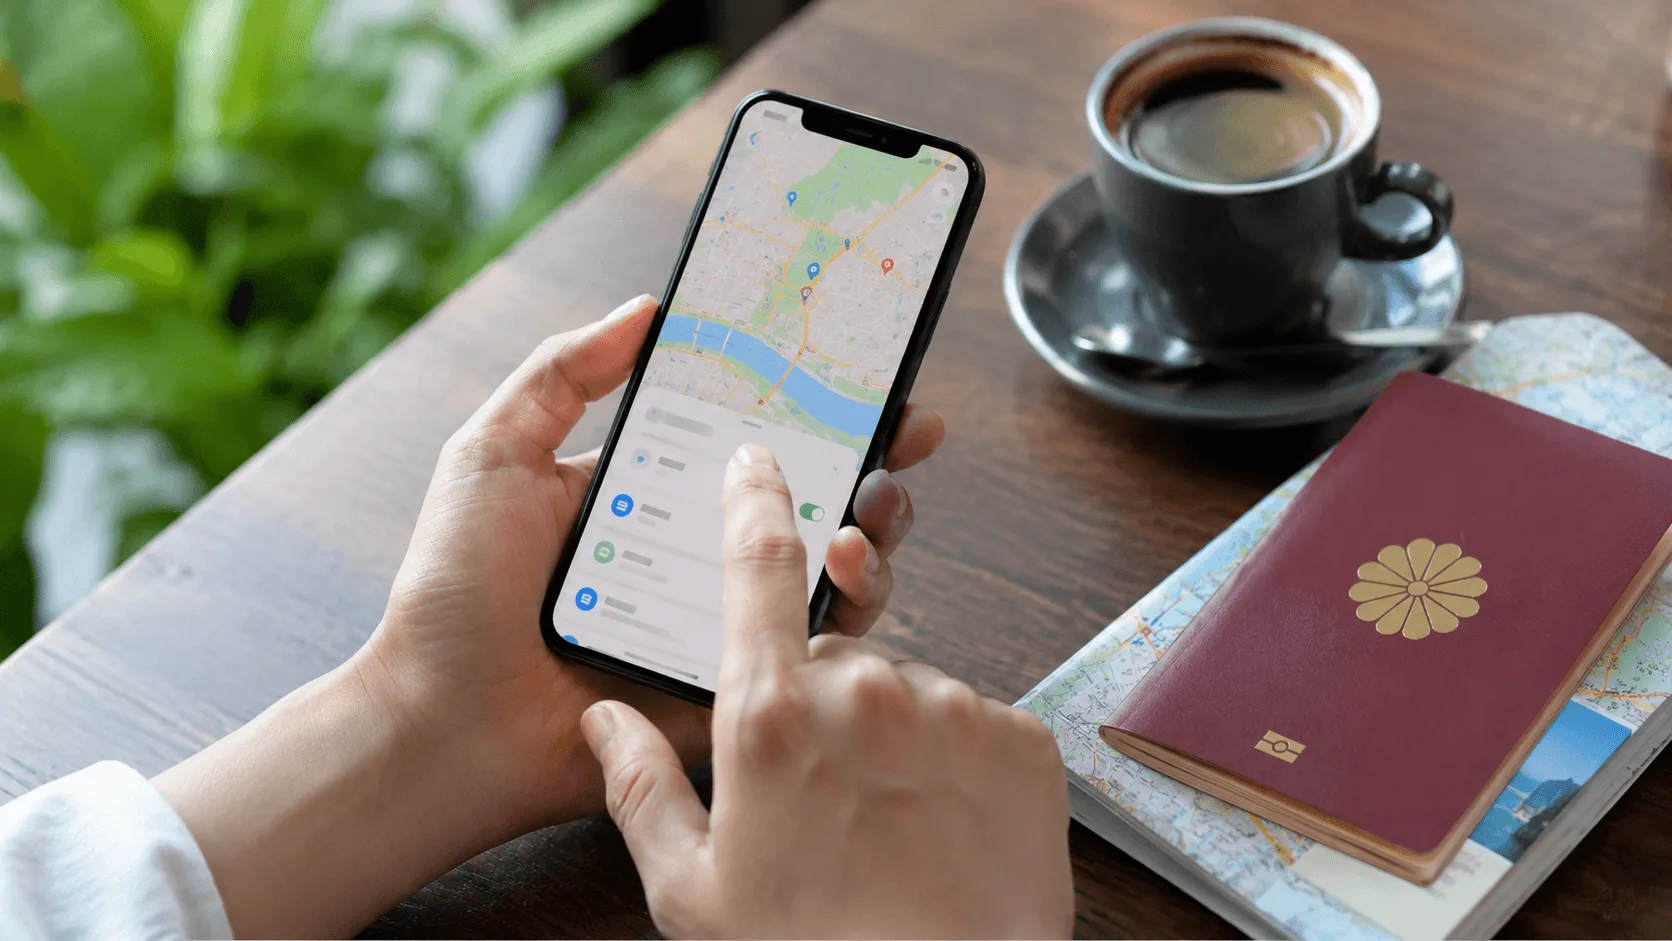
So which should you pick? Choosing by travel style

A little prep before you go goes a long way
When you’re not sure, this simple flow helps:
- You have an eSIM-compatible phone and you’re traveling solo → an eSIM is the easy pick. Sign up before you leave and use it right after you land.
- You want to connect several devices for family/group travel, or your phone isn’t eSIM-compatible → a pocket Wi-Fi rental is handy. Sharing one unit keeps the per-person cost down.
- You’re unsure about signing up in advance and would rather buy on the spot → you can also pick up a SIM or Wi-Fi device at airport counters or vending machines on the day (major airports such as Narita, Haneda, and Kansai have counters and vending machines).
For a short solo trip, an eSIM is a good starting point. Let’s look at some specific services in the next section.
Recommended eSIM & booking services for trips to Japan
An eSIM works by writing a data plan onto a chip built into your phone. There’s no waiting to receive a physical card—if you sign up and install it via an app or website before you leave, all you do is switch your line over after you arrive in Japan, and you’re online.
Most eSIMs are data-only (no calls or SMS). If you’ll need SMS verification (a phone number) for things like ride-hailing apps or confirming a hotel booking, choose a plan that includes a phone number. As a rough guide for daily data: if you’re mainly using maps and social media, around 0.5–1 GB per day; if you post a lot of photos or watch a lot of video, around 2–3 GB per day.
Keep in mind that your phone hardware needs to support eSIM (we’ll cover how to check below), and coverage can vary by country, device, and location. Even plans advertised as “unlimited” sometimes have daily caps or speed limits, so it’s worth confirming the latest data allowance, speed, and coverage area on each official site before you sign up.
SPONSORED | A leading global data eSIM
Airalo
An app-based eSIM and one of the largest, best-known services worldwide. Buy and install a Japan data plan before you leave, and you can use it as soon as you arrive. The app is in English and easy to set up, and it covers a wide range of countries—a go-to for seasoned travelers.
If you’d rather compare a few options first, or look for local eSIMs and Wi-Fi all in one place, searching for local plans on a travel booking platform is another handy approach.
SPONSORED | Compare local plans in one place
KKday
A travel booking platform where you can browse eSIMs, pocket Wi-Fi, and local experiences all in one place. It’s handy when you want to compare several options side by side, and it carries data plans you can use in Japan too.
SPONSORED | Book local plans & tickets too
Klook
A major travel booking platform alongside KKday. Beyond eSIMs and pocket Wi-Fi, you can also book local activities and tickets all in one place. Comparing the two and choosing on price and ease of use is a good approach.
Prices and coverage areas can change, so please check each official site for the latest details before signing up. In the next checklist, we’ll cover how to confirm whether your device supports eSIM.
Pre-departure checklist
To avoid a scramble on the day, try to get these four steps done before you leave.
- Check whether your phone supports eSIM: In the phone app, enter
*#06#; if an EID number appears, that’s a good sign your device supports eSIM. You can also check via Settings → General → About on iPhone, or “About phone” on Android. - Check your SIM lock status: To use another carrier’s SIM or eSIM, your phone needs to be SIM-unlocked. Check in your settings that it shows something like “No SIM restrictions” / “SIM unlocked.”
- Buy and install the eSIM before you leave: Getting the sign-up and install done while you’re still at home keeps the steps after arrival to a minimum.
- Switch your line over after you arrive: Once you’re in Japan, turn on the installed plan in your settings and you’re connected (with many eSIMs, the day count starts the moment you connect locally).
If it turns out your phone doesn’t support eSIM, you can simply switch to a pocket Wi-Fi rental or buy a physical SIM card at the airport—no problem.
Frequently asked questions (FAQ)
Q. What if my phone doesn’t support eSIM?
Rent a pocket Wi-Fi device, or use a physical SIM card you can buy at the airport. Pocket Wi-Fi is especially good because one unit can connect several devices—handy for non-eSIM phones or for sharing with family.
Q. Do I need a Japanese phone number?
For sightseeing alone, data is often enough, but there are moments where SMS verification (a phone number) is needed—such as registering for ride-hailing apps or confirming some bookings. If you’ll need a number, choose a SIM/eSIM plan that includes one, rather than a data-only eSIM.
Q. Can I sort this out after I land at the airport?
Major airports such as Narita, Haneda, and Kansai have pickup counters and vending machines for SIMs and pocket Wi-Fi. You can get set up on the spot, but they can get busy in peak seasons—so if you want to be sure, signing up for an eSIM before you leave is the safer bet.
Q. Is the park’s free Wi-Fi enough on its own?
It’s best treated as a backup. It can be hard to connect when it’s busy, and it often won’t work while you’re moving around or outdoors—so leaning on it for key moments like grabbing timed-entry tickets or mobile ordering is risky. Having one connection that’s just yours is reassuring.
Q. How much data do I need?
It depends on how you use it, but as a guide: around 0.5–1 GB per day if you’re mainly checking maps and social media, and around 2–3 GB per day if you watch a lot of video or post lots of photos. Choosing a plan with a little room to spare for your trip length reduces the worry of running out.
Summary | A little prep makes your Japan trip smoother
To enjoy Japan’s theme parks and sightseeing without stress, it really helps to sort out your connection in advance. Here’s the recap:
- Disney, USJ, and LEGOLAND run on their official apps—at the parks, being online is essential
- The four options are eSIM, pocket Wi-Fi, SIM, and free Wi-Fi—keep free Wi-Fi as a backup
- For a compatible phone and one person, eSIM; for families or several devices, pocket Wi-Fi is the basic choice
- With an eSIM, buy and install before you leave so you’re ready right after you land
- Use
*#06#to check eSIM support and SIM lock status ahead of time
Prices and specs can change, so please confirm the latest details on each official site before signing up. With a little prep, your phone will be there to help whenever you’re unsure on the ground.
📚 More English guides: Tokyo Disney Language Apps Guide / Shinkansen Oversized Luggage Guide / All Travel Guides & Crowd Calendars
※ “Tokyo Disney Resort,” “Tokyo Disneyland,” and “Tokyo DisneySea” are registered trademarks of The Walt Disney Company and its affiliates. “Universal Studios Japan” and “USJ” are registered trademarks of NBCUniversal / USJ LLC. “LEGOLAND®” and “LEGO®” are registered trademarks of the LEGO Group. This site is not an official partner of any of these companies; it is an independent blog created for informational purposes.
※ The images in this article were created using generative AI.
This English article was created with AI translation assistance based on the original Japanese. For pricing, plans, and procedures, please always confirm the latest details on each provider’s official website before making a decision.